Finishing the Job !
Created on March 11th 2021
Part Two – Finishing
So currently what we have in front of us looks to be in a pretty sorry state, but it is actually poised to become the finished article we are all hoping for. It is possible to come back to a job like this and think, ” Why the hell did I start this..!” but in fact this is the best part because all the hard work, the preparation has been completed. It is ready to be brought back to its original but hopefully better state.
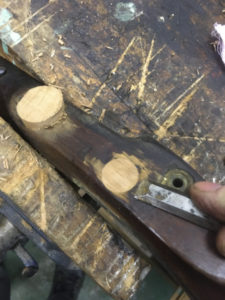
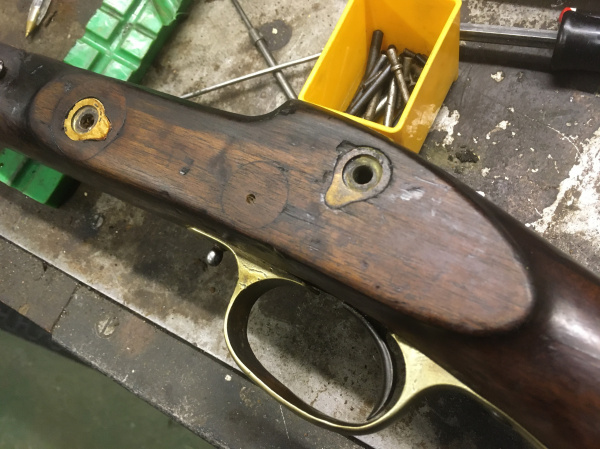
The stock is literally what holds the whole restoration together, without that you can have a pile of nicely finished and restored parts all looking for a home – it has to come together by reassembly. A foot note here worth mentioning is holding the work. Simply that if you cant hold the work firmly without inflicting further bruising then you will lose effectiveness of effort that you put into it. Sounds obvious but the number of times I have personally chased the work around the work top without having the brainwave of using a vice would surprise you! Or, was it just laziness ! So take a tip from me and save your time – get the work secured. Then if you need to change the direction of your cut, make sure you move it around in the vice or clamps so you can approach from the best angle. The direction of the grain is the chief influencer here, you don’t want to be lifting the grain – that will produce tearing which will not finish well.
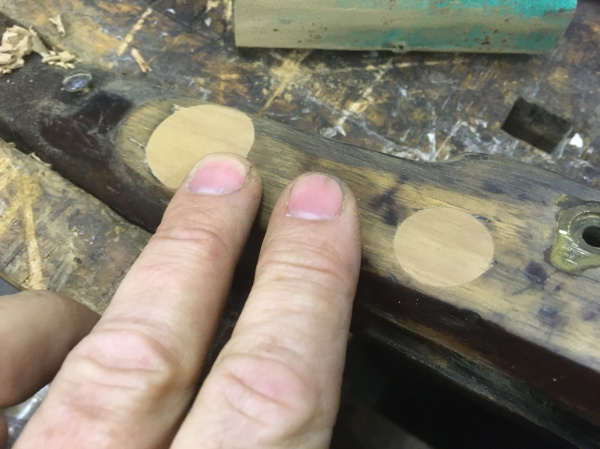
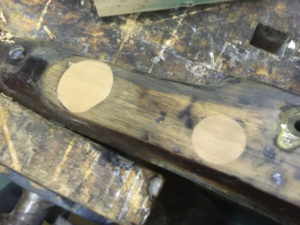
The first job then, is to flatten the seemingly cumbersome cross-grain plugs down to sock level. You can remove the obvious excess with a fine toothed saw but then you have to resort to the blade. The best way to accomplish a smooth surface is with a blade. Doesn’t really matter what blade you choose – the key ingredient is – the thing has to be sharp. Whether you chose to use a large flat chisel or even a Stanley blade, without a keen edge the grain could take your blade all over the place. In short you could ruin the whole thing even at this point – so a sharp blade is essential. Secondly control over the chisel – that’s why I prefer a large flat bladed chisel – something you can get complete control over – as long as you can manipulate the tip of the blade with all surfaces of the chosen implement you have more control over it. It doesn’t matter if you are pushing with the palm of your hand or guiding the direction of cut with your fore-fingers you need the cutting edge to respond as you want it to. So, if it is blunt or not just sharp enough, the grain will win, and you may end up cutting in below the surface and then have to repair again later. The best feed back you can get through the chisel is when it becomes flat on the surface of the stock, with no deviation from its course. You do not need to be fighting the tools that are meant to be helping you complete the job! You might want to start with a very narrow chisel – especially if the grain is wild, but when you get down to the finish surface you need to be on that larger chisel to ensure an evenness of finish. You can leave furrows with a narrow blade without realising it until it is too late. Even with a wide blade you often don’t use the whole cutting surface all at once, because that will offer more resistance; sometimes you are only cutting with one side of the cutting edge, or even the corner, but you are using the flat of the blade to keep it even to the surface.
Once your eyes are telling you you are nearly there then its down to another sense to asses your results. God gave us finger tips and they are incredibly useful in this instance. If like me your eyes are starting to fail you then it doesn’t matter what super high tech lighting system you have on your bench, you are not going to be able to see that you have finished – you have to use your sense of touch. Your finger tips will tell you if you have it flush and flat – trust them.
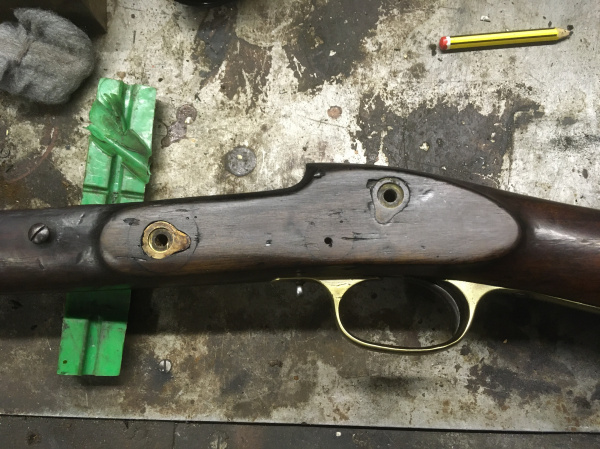
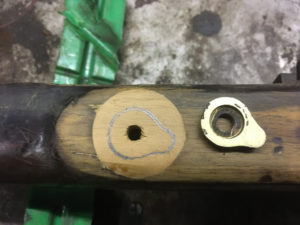
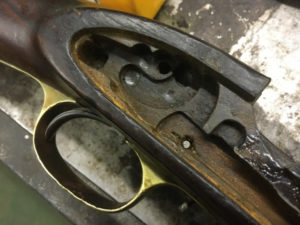
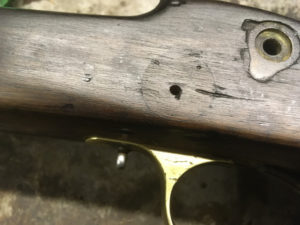
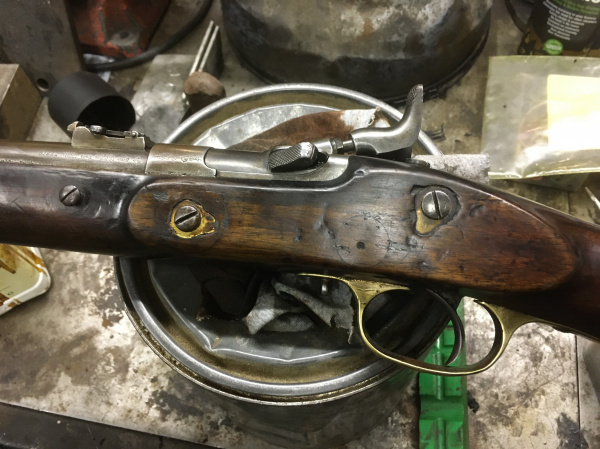
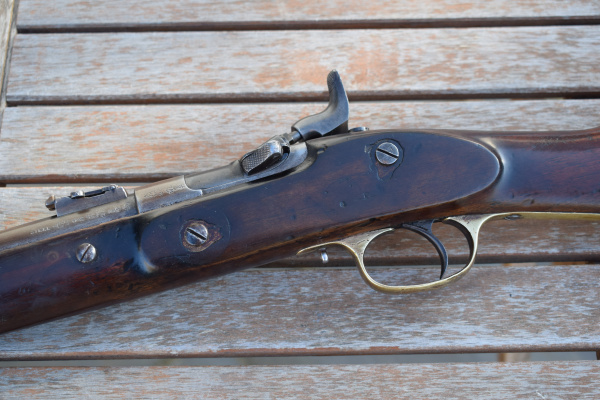
Then we go back to rectifying the original problem; the corroded trigger guard retention pin. Firstly by gentle warming of the brass trigger guard, then using a curved shape to rectify the dent in the trigger guard and a Big “AMMER“, the item was ready to install. Using all the components by positioning them correctly will give the correct location if any drilling needs to be done. I decided to use a small solid pin out of my spares and repairs box, therefore the hole in the brass trigger guard had to opened up slightly, but this had the effect of a more effective fixing – this also allowed the correct drilling position through one of the timber plugs. Next the brass escutcheon had to be fitted, these have non-parallel sides so the initial drilling had to be tight to get a good fit. Cut the extra lug out with a sharp carving chisel and fix remembering that the other one is not flush but ever-so slightly below the surface. Drill from the other side for front lock screw to get position exactly right.
Finally when you have it at a satisfactory feel then use a light grain sandpaper to prep for finish. By “finish” I mean colour and seal. The blade will leave the surface almost shiny, the grain needs to be roughened a tiny bit to accept the stain. Stain will once again raise the grain if it is too wet. The nibs will have to be flattened, then stained again. You might want to apply some ageing markings at this stage. Remember ageing markings often fill with dirt and oil and grease ! But for Gods sake don’t fill them up with that stuff – you’ll ruin it. I use other things. Apply finish. Restore patina. Simple as that. Then watch the repairs for a while – I mean days to see if anything moves. Return to customer and hope for the best.
NEXT…..!
Comments Off on Finishing the Job !